Description
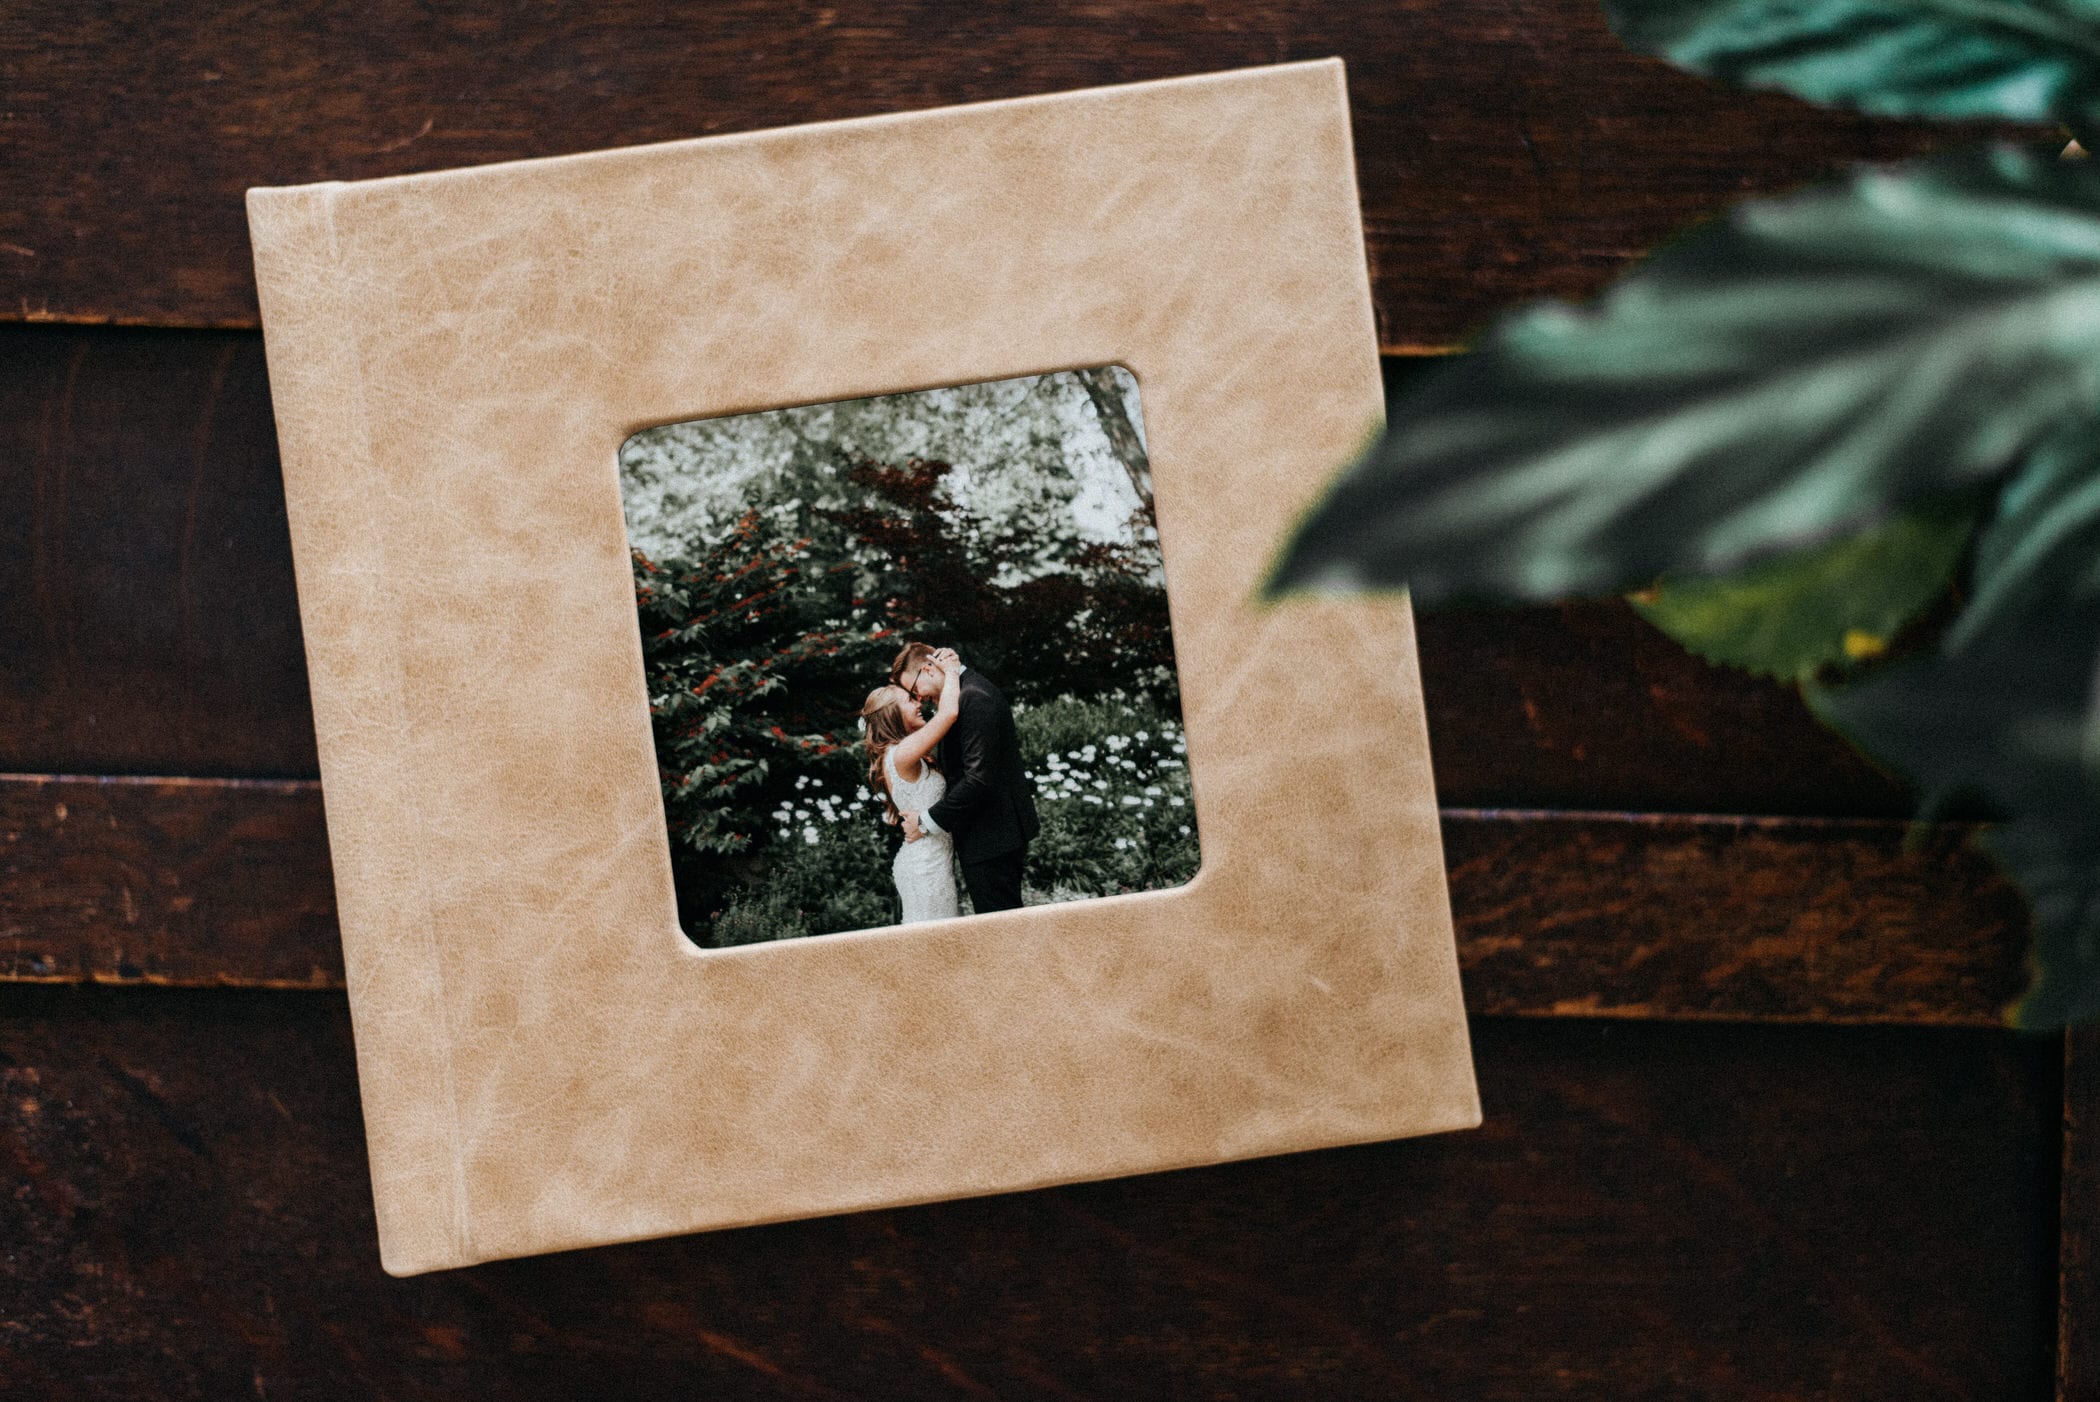
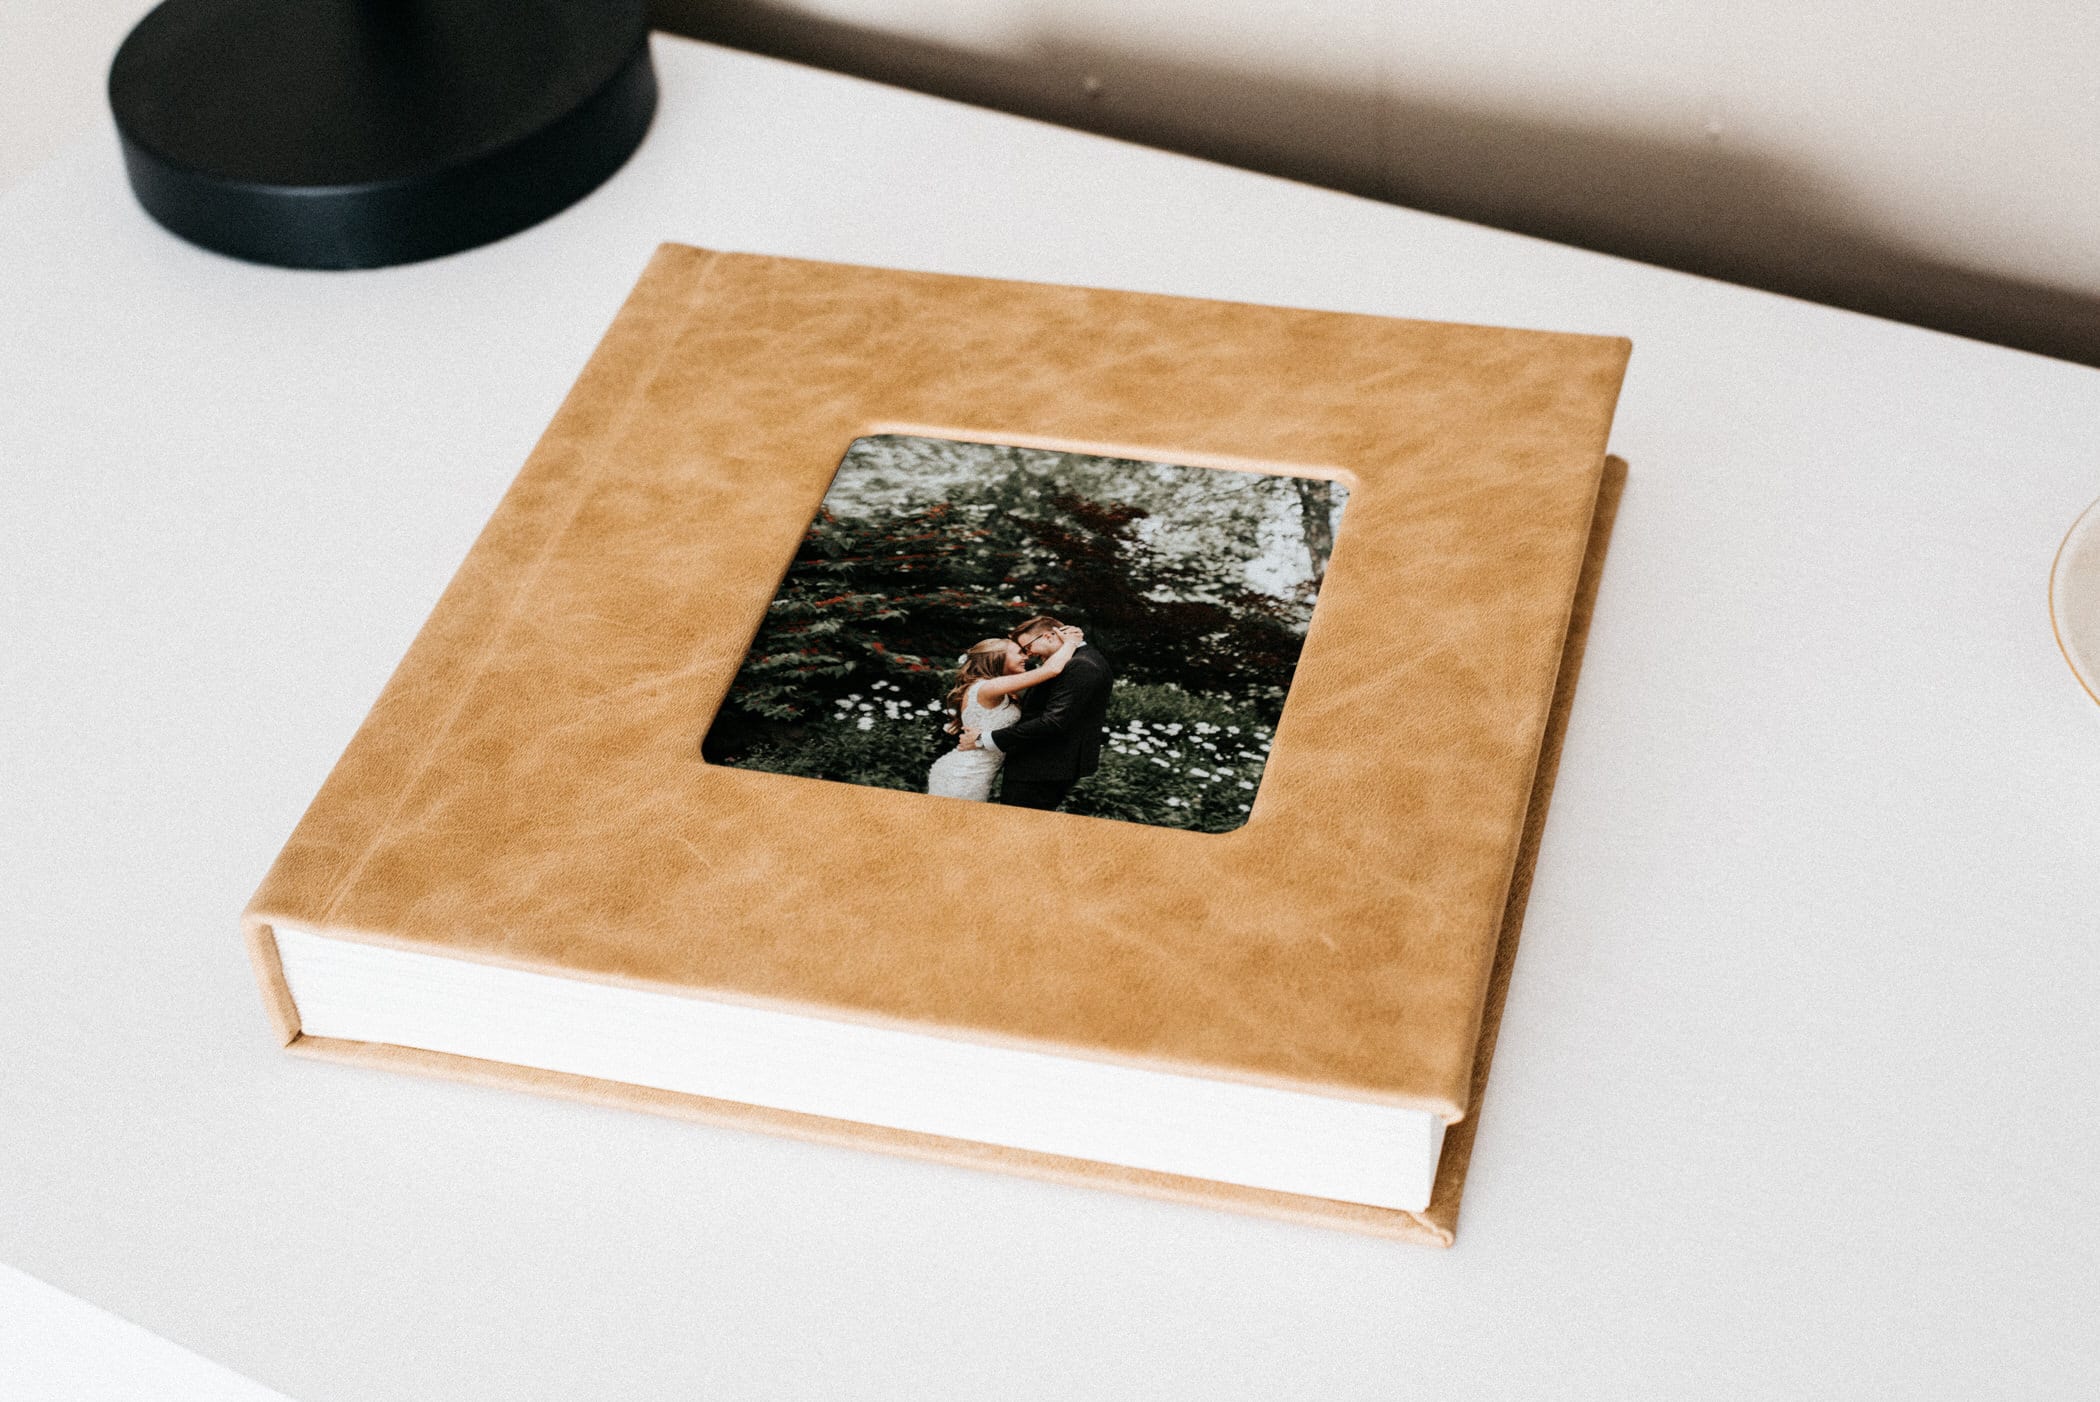
Okay, I honestly can’t say enough good things about these albums. It’s hard to describe how beautiful they are without actually putting one in your hands…and that’s exactly why I’ve included album credits with most of my wedding packages.
These album credits cover the cost of at least an 8″x8″ 30-page album (so, essentially, you get a free album with any package that includes a credit!), but can also be applied to album upgrades if you want a larger album or more pages.
Here’s how the album creation process works…
1) SELECTING IMAGES
After I’ve delivered your gallery, I’ll send you a follow-up email asking for you to go through the gallery and select the images you’d like me to use in the album. You can favorite images simply by clicking the heart icon over each photo you like – or if you’d rather me select the photos for you, I can do that as well!
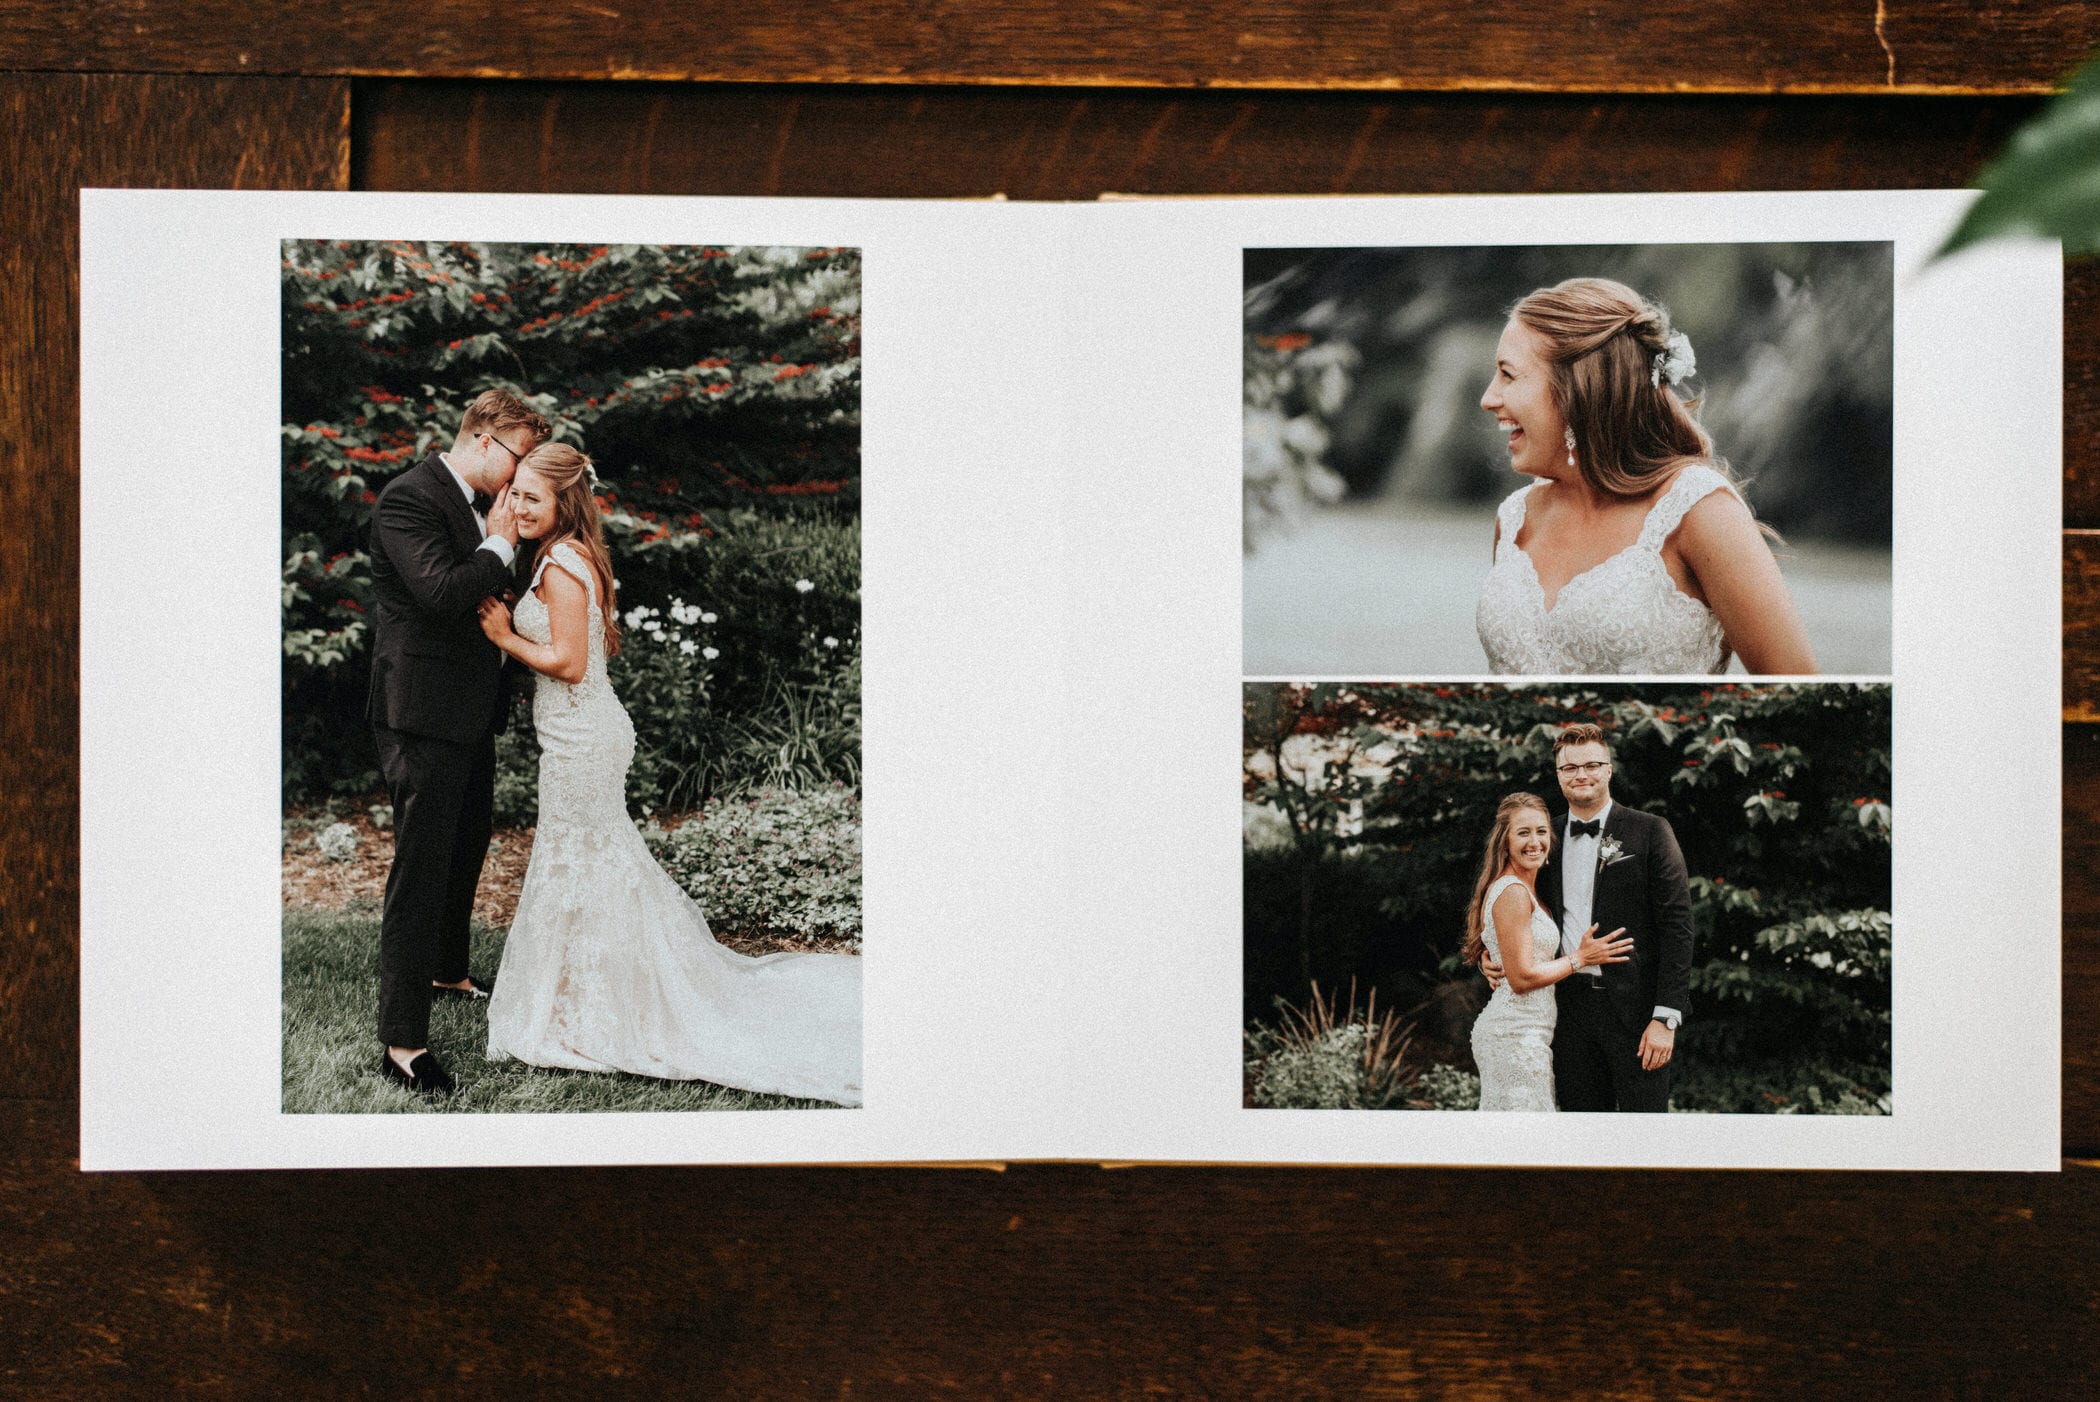
Note on image selection: as a general rule-of-thumb, I’d suggest an average of (2) images per page. Obviously some pages will have more while others may only showcase a single image (like when there’s a full spread of one image over two pages), but I’d recommend favoriting two (2) images per album page (so a 40 page album would have around 80 images selected).
2) APPROVING THE SPREADS
Once your favorite images have been selected, I will use those images to personally design the album in a way I feel showcases you and your wedding best before sending a draft to you for review. As you look through the spreads I’ve created, you can make comments on pages you’d like changed, images you wish to swap out, etc – we’ll change things up until you’re happy with everything!
3) CHOOSING UPGRADES (IF DESIRED)
Based on the number images you have selected, the album I design for you may be under, over, or equal to the album credit you’ve received with your wedding collection. At this stage, you can choose whether to upgrade your album or remove images/pages to stick within the album credit that came with your collection. Either way is totally fine by me – we’ll talk through this and make sure you get exactly what you want! And by the way, I’m never going to twist your arm for an upgrade – I want you to get an album you’re fully happy with, in every way.
Note on album sizes: the size of an album determines how large the images are on the page, while the number of pages determines how many images can be included in the album itself. My personal favorite album size is the 10″x10″ (this is the album size I demo at consults!), but I’ve sold smaller and larger albums as well – each size is beautiful!
4) SELECTING A COVER LEATHER + FRONT IMAGE
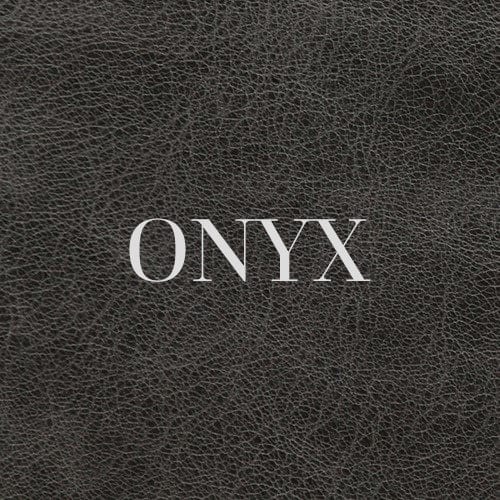
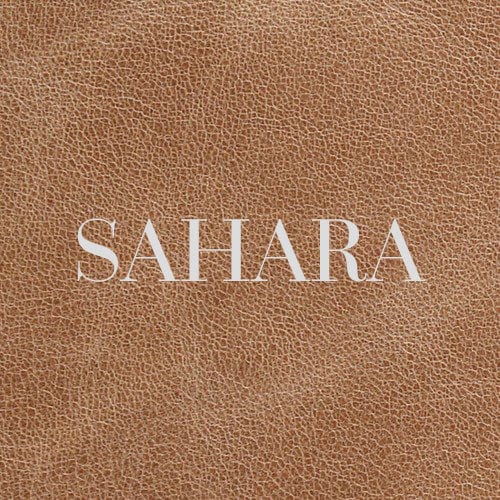
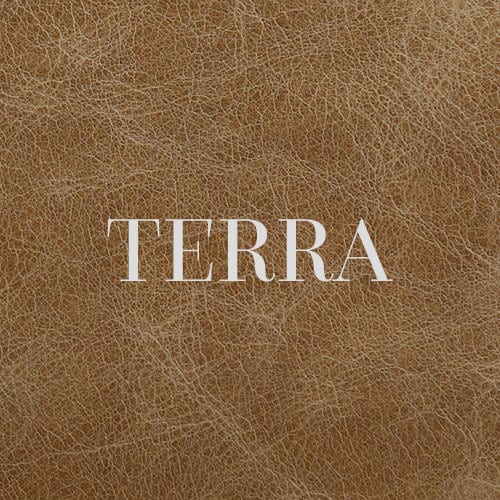
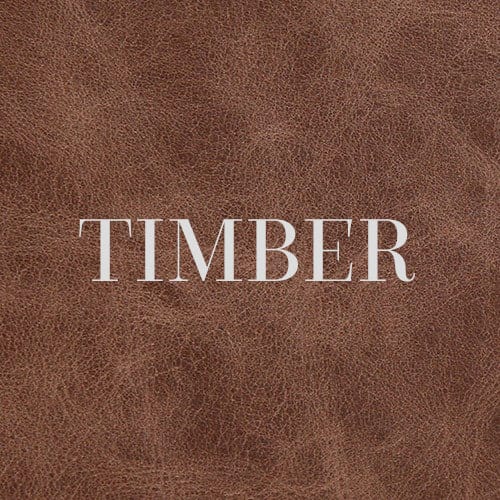
Your final step in the album-creation process is selecting a leather option (from the four leathers available) as well as which image you’d like on the front of the album. These choices are totally up to you and your personal preference – have fun with it!
5) PRINTING AND DELIVERY
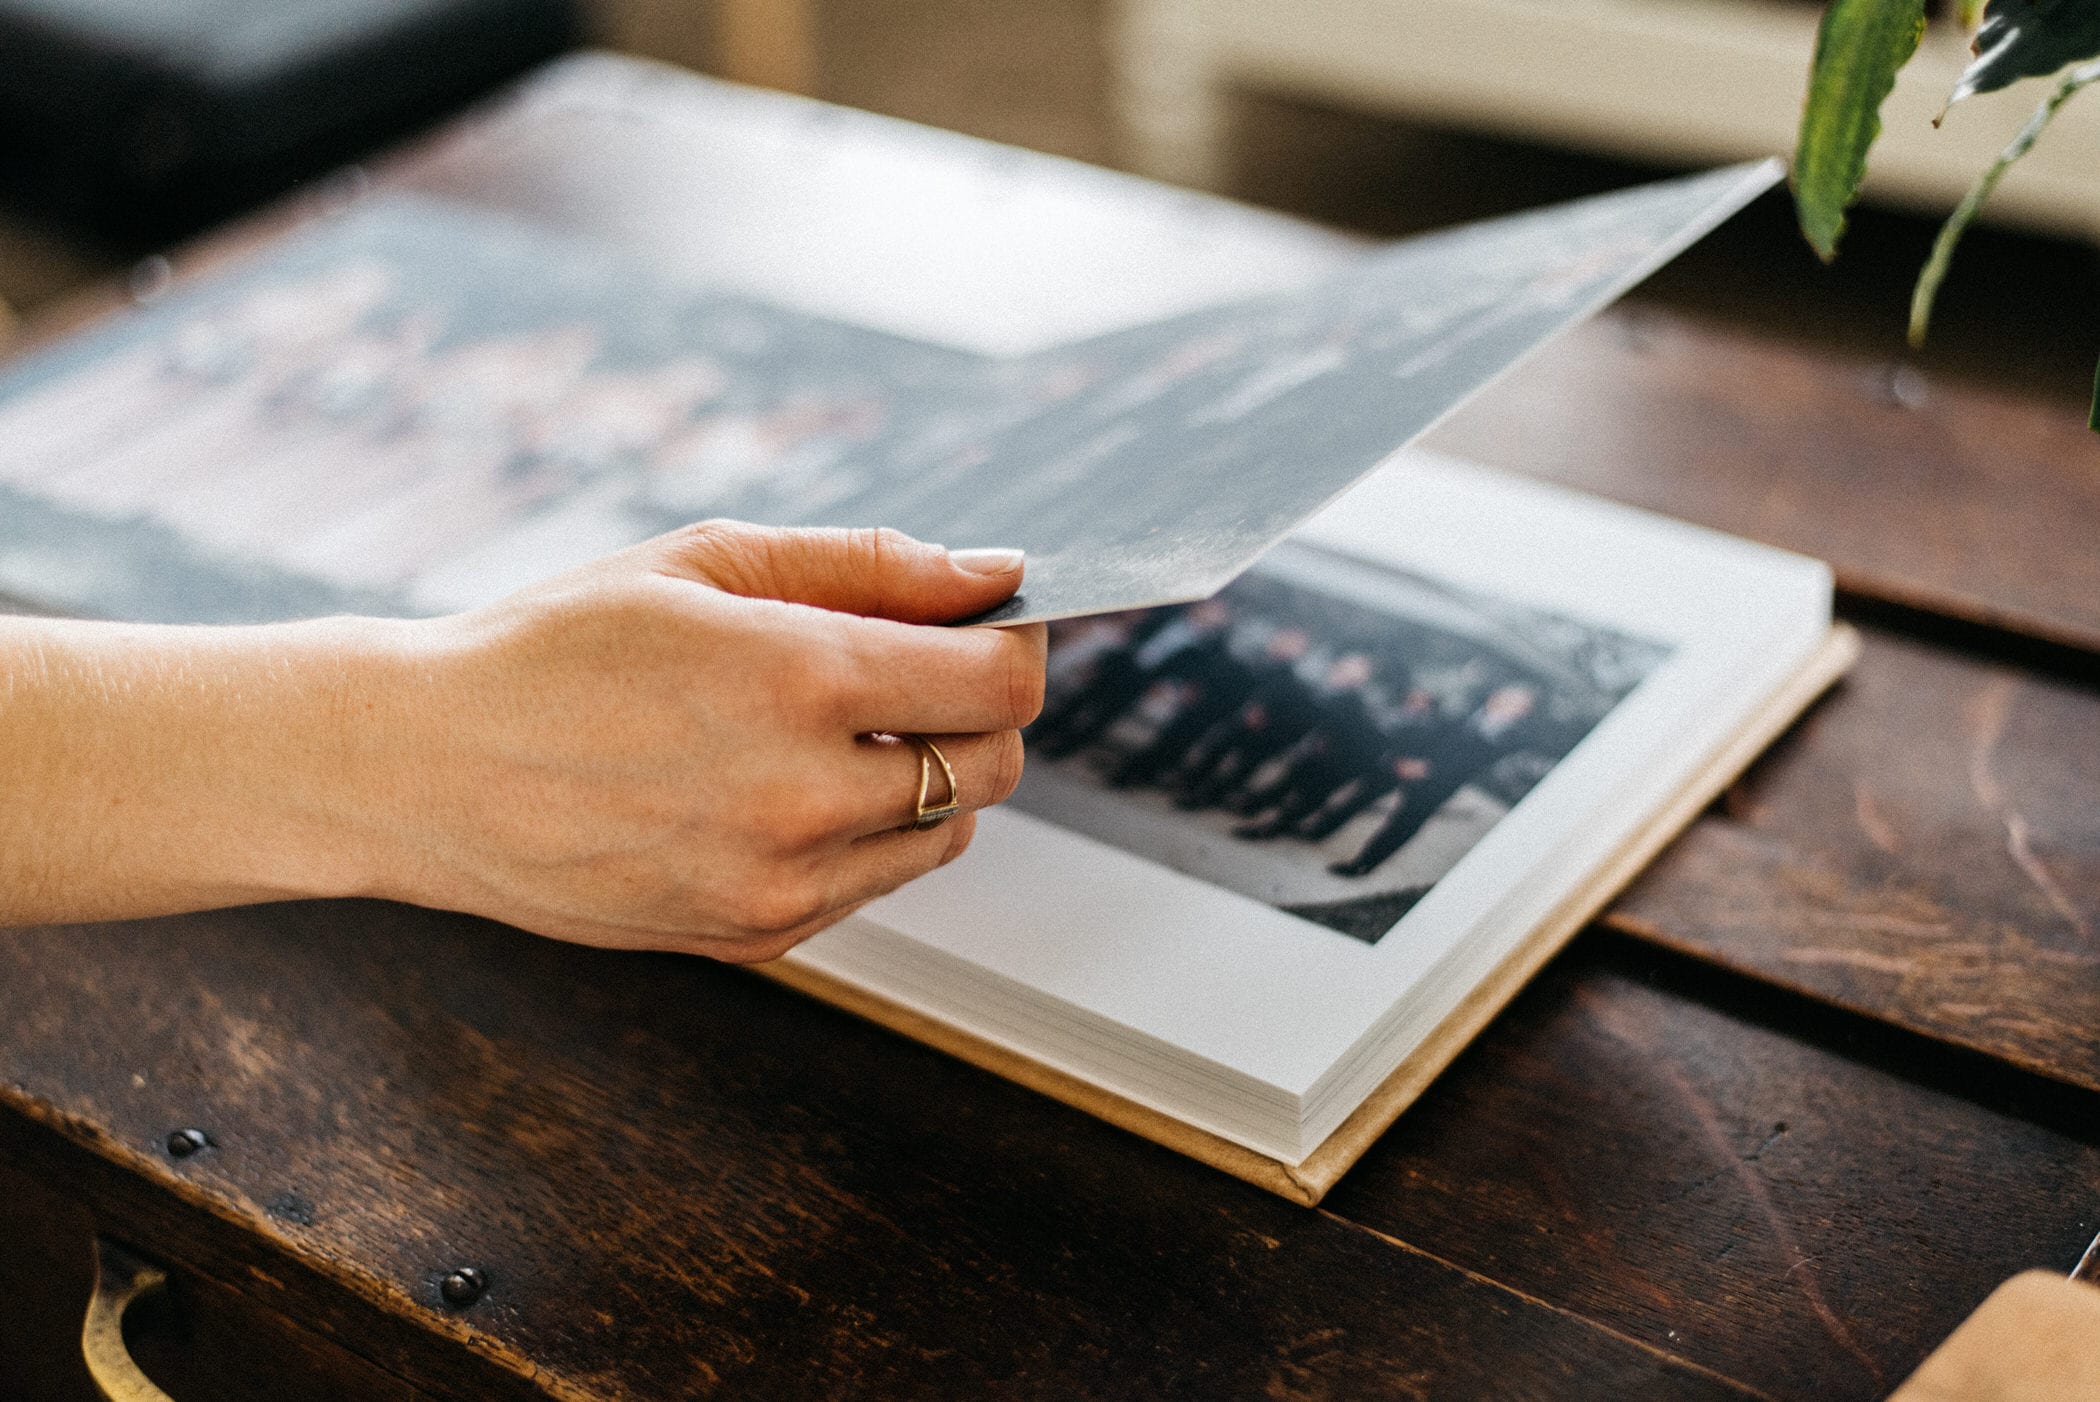
Once you’ve approved everything and are happy with the final product, I’ll send everything off to the lab where they hand make and quality-check your album to make sure it lives up to their impeccable standards. The level of care and attention to detail that the lab provides is honestly incredible and reflects greatly in the lasting quality of these albums.
If you’re looking for a way to showcase your favorite images in a powerful, stunning, and lasting way, I’d strongly encourage you to check these albums out and, as always, feel free to give me a shout with questions if you would like further information about the ordering process or what personalization options you have.
